Starting your online therapy or coaching business in Canada is one of the best ways to serve clients from anywhere while enjoying the flexibility of remote work. Whether you’re a licensed therapist, wellness coach, or holistic healer, this guide will walk you through everything you need to successfully launch and grow your practice in a compliant, professional, and client-centered way.
Step 1: Identify Your Niche and Audience
Your niche is the specific group of people you serve and the type of problem you help them solve. Do you work with anxious teens, burned-out professionals, or couples going through relationship challenges? Maybe you’re a coach focused on mindset for entrepreneurs or a wellness guide specializing in holistic healing.
Defining your niche helps you:
– Stand out from other professionals
– Create messaging that resonates
– Build strong client relationships
– Design offers that solve specific problems
It’s not about excluding people—it’s about making your brand and services feel personalized and relevant.
Step 2: Register Your Business and Understand Legal Requirements
In Canada, you’ll need to register your business at the federal or provincial level depending on your business structure. Sole proprietorship, partnership, or corporation—each has tax and liability implications.
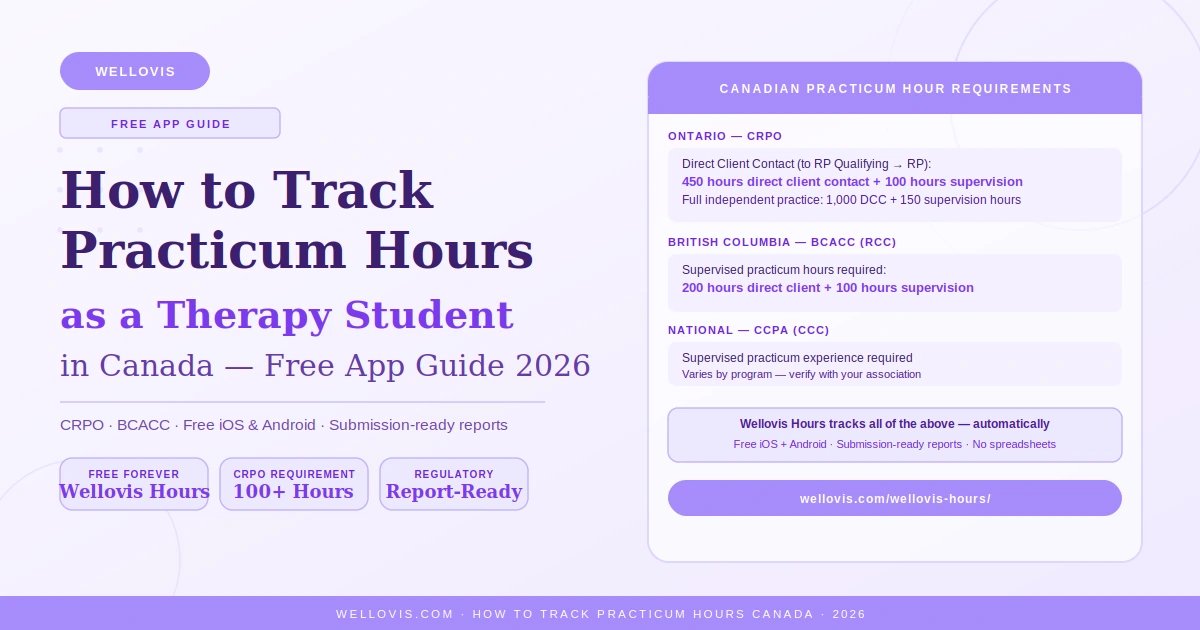
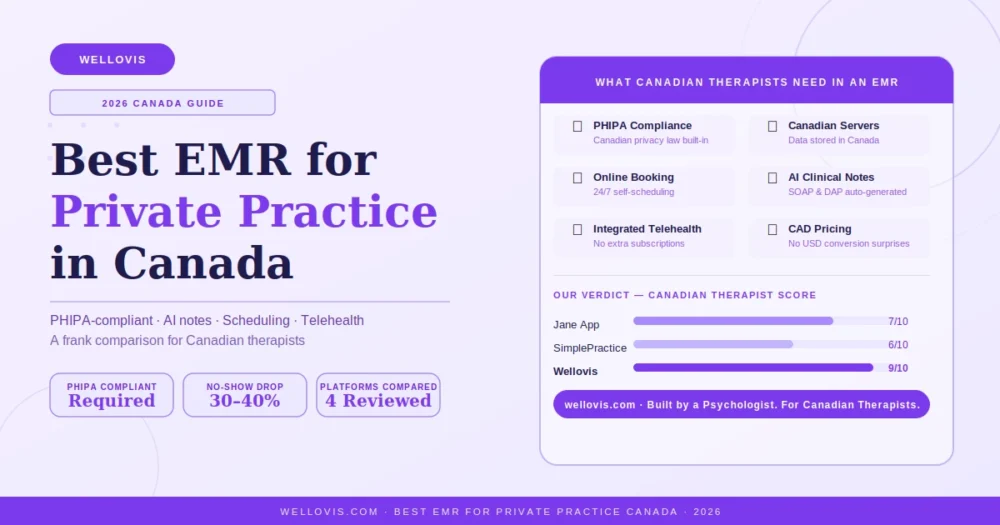
Next, ensure you understand and comply with PIPEDA (Personal Information Protection and Electronic Documents Act). If you’re a regulated professional, such as a psychologist or social worker, your college may have additional online practice guidelines.
Basic legal and administrative setup includes:
– Business registration number
– Liability insurance
– Client service agreements
– Privacy policies
– Intake and consent forms
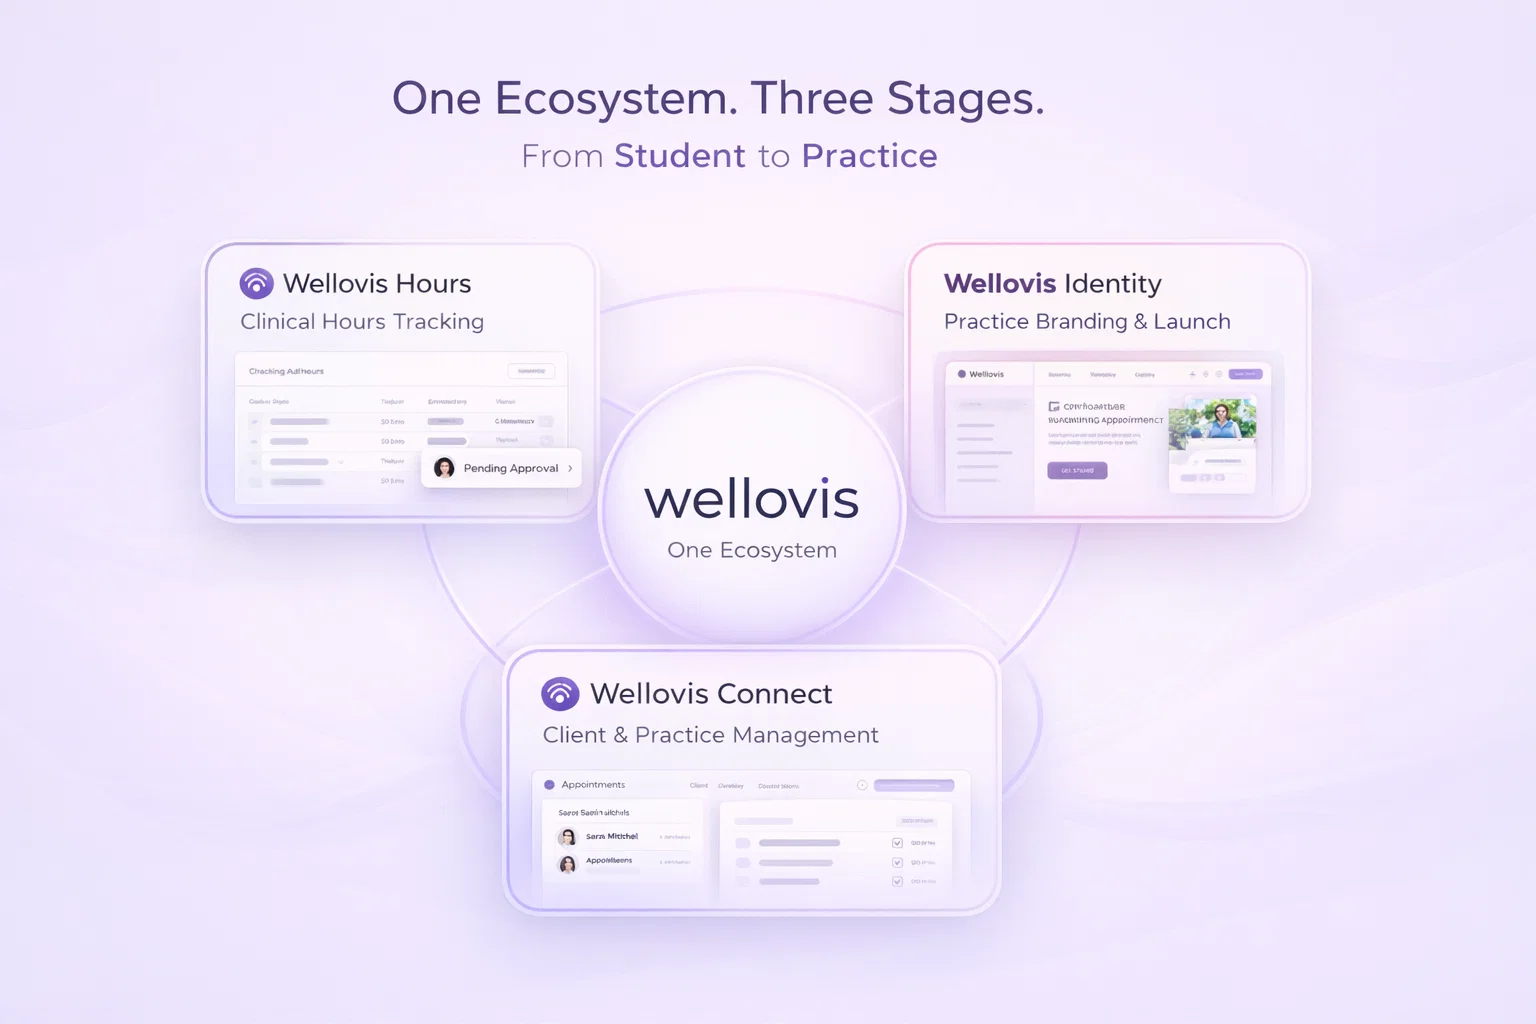
You should also use secure methods for communication, record-keeping, and payments. Consider platforms with built-in compliance support or work with a setup service like Wellovis to manage all these requirements.
Step 3: Set Up Your Website (Compliance-First)
Your website is your digital practice. It should reflect your brand, speak to your target audience, and make it easy for people to book you.
Key pages to include:
– Home: Clear value proposition
– About: Personal story, credentials, photo
– Services: Detailed descriptions, fees
– Contact: Booking form or email
– Blog: SEO content to attract traffic
– Privacy & Terms: Legal and ethical info
For compliance:
– Use SSL certificates (https://)
– Avoid collecting sensitive data on unsecured forms
– Use secure client portals for intake
Platforms like WordPress (self-hosted), Squarespace, or a done-for-you provider like Wellovis can simplify the process.
Step 4: Build Your Brand Identity
Your brand is what people say about you when you’re not in the room. For therapists and coaches, it must convey trust, safety, and professionalism.
Core branding elements:
– Logo (simple and clear)
– Color palette (soothing tones like blue, green, beige)
– Fonts (readable and calm)
– Voice (empathetic, empowering, warm)
– Headshot (professional and approachable)
Every touchpoint—from website to email signature—should be visually consistent and emotionally aligned with your message.
Step 5: Choose Booking and Payment Tools
Your tools should save you time and offer a seamless client experience. Look for:
– Booking/scheduling (JaneApp, Practice Better, Calendly)
– Secure intake forms (Healthie, SimplePractice)
– Payment processors (Stripe, Square, PayPal)
– Automated reminders and calendar syncs
You may also want video conferencing integration (Zoom, doxy.me) and note-keeping software.
All-in-one platforms or professional setup services help avoid tech overwhelm and prevent missed bookings.
Step 6: Claim Your Online Real Estate
If people can’t find you online, they can’t hire you.
Start by:
– Claiming your Google Business Profile
– Registering on directories: Psychology Today, TherapyOwl, CoachFinder, etc.
– Creating a LinkedIn and Instagram profile (depending on your audience)
– Using consistent business names and handles
Keep branding aligned across all platforms and link everything back to your website.
Step 7: Implement Local and Voice Search SEO
SEO helps your website show up when people Google “online therapist in Ontario” or “wellness coach for moms.” Start with:
– Keyword research using Canadian search terms
– Meta descriptions and page titles
– Fast, mobile-friendly design
– Blogging regularly with targeted topics
– Adding schema and local keywords
Optimize for AEO (Answer Engine Optimization) too. Include voice-friendly FAQs like:
– “How do I start therapy online in Canada?”
– “Is coaching covered by insurance?”
– “What is PIPEDA compliance?”
This builds your authority and helps more people find you through search.
Step 8: Create a Soft Launch Strategy
Before you go fully public:
– Test all your forms, payments, and calendar links
– Ask a friend to book a dummy session
– Start building an email list with a lead magnet
You can begin promoting with:
– A “Coming Soon” teaser
– A launch email sequence
– Instagram countdown or live Q&A
– Offering a limited number of free or discounted sessions to get initial traction
Step 9: Deliver Exceptional Client Experience
Once clients start booking, focus on experience. Prompt replies, safe spaces, and clear communication go a long way. Overdeliver with:
– Personalized welcome emails
– Intake guides or prep checklists
– Resources and follow-ups
Step 10: Automate and Scale
As you grow, automate repetitive tasks. Use templates, auto-responders, CRM tools, and content scheduling. Consider adding:
– Group programs or workshops
– Digital products (journals, guides)
– Affiliate or partner referrals
And when you’re ready—hire a VA or delegate setup/tech tasks to Wellovis so you can focus on your core strengths.